How to Setup Your Email in Outlook 2019
Launch Microsoft Outlook 2019 on your computer. If you are launching it for the first time, you will directly see the window as shown below. If you have already configured some other email accounts on Outlook, you can click on File Menu> Add Account to see the window as shown below.
a. Enter your Email Address.
b. Check the box that reads, Let me set up my account manually.
c. Click on Connect.

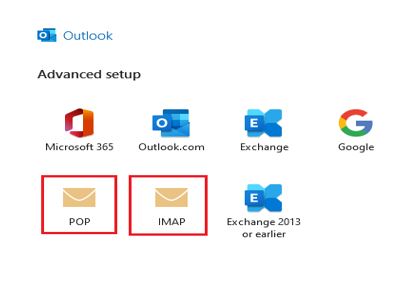
2. Select POP or IMAP depending on the Incoming Protocol you prefer.

POP stands for Post Office Protocol, and was designed as a simple way to access a remote email server. POP works by downloading your emails from your provider’s mail server, and then marking them for deletion there. This means you can only ever read those email messages in that email client, on that computer. You will not be able to access any previously downloaded emails from any other device, with any other email client, or through webmail.
Some email clients like Microsoft Outlook, provide advanced settings that would allow you To enable (or disable) the “Leave a copy of the message on the server”. When this option is enabled, emails will remain on your provider’s mail server.
IMAP stands for Internet Message Access Protocol and was designed specifically to eliminate the limitations of POP.
IMAP allows you to access your emails from any client, and any device, and webmail login at any time, until you delete them. You are always seeing the same emails, no matter how you access your provider’s server.
Since your email is stored on the provider’s server and not locally, you may run into email storage limits, when using IMAP.
3. Enter your account password.

4. Once successfully connected to the mail server, click Done to finish the setup.
